A good ad came up on ebay which I quickly jumped on, then went to the workshop the next weekend to find this...


Pretty much a complete engines worth of parts, but minus 2 pistons (broken in storage?), flywheel and the turbo/exhaust manifold. Also got a full GSi engine loom, full VXR engine loom and a VXR charging loom so have pretty much all the connectors i'll need when I come to make the new looms, but that is a way away yet.
All I've done with the head so far is remove the camshafts so I can more comfortably leave it inhibited till I come round to rebuild it, the same job we did on the head in the Corsa in the last post but without all the teardown and not as much cleaning! It all looks good on first looks except a bit of corrosion on 2 or 3 of the hydraulic lifters but at around £6 a shot for new ones I wont lose sleep over it
To start things off while I had some time I felt to make some constructive moves other than cleaning and inspecting the haul so set about freshening up the block.

 |
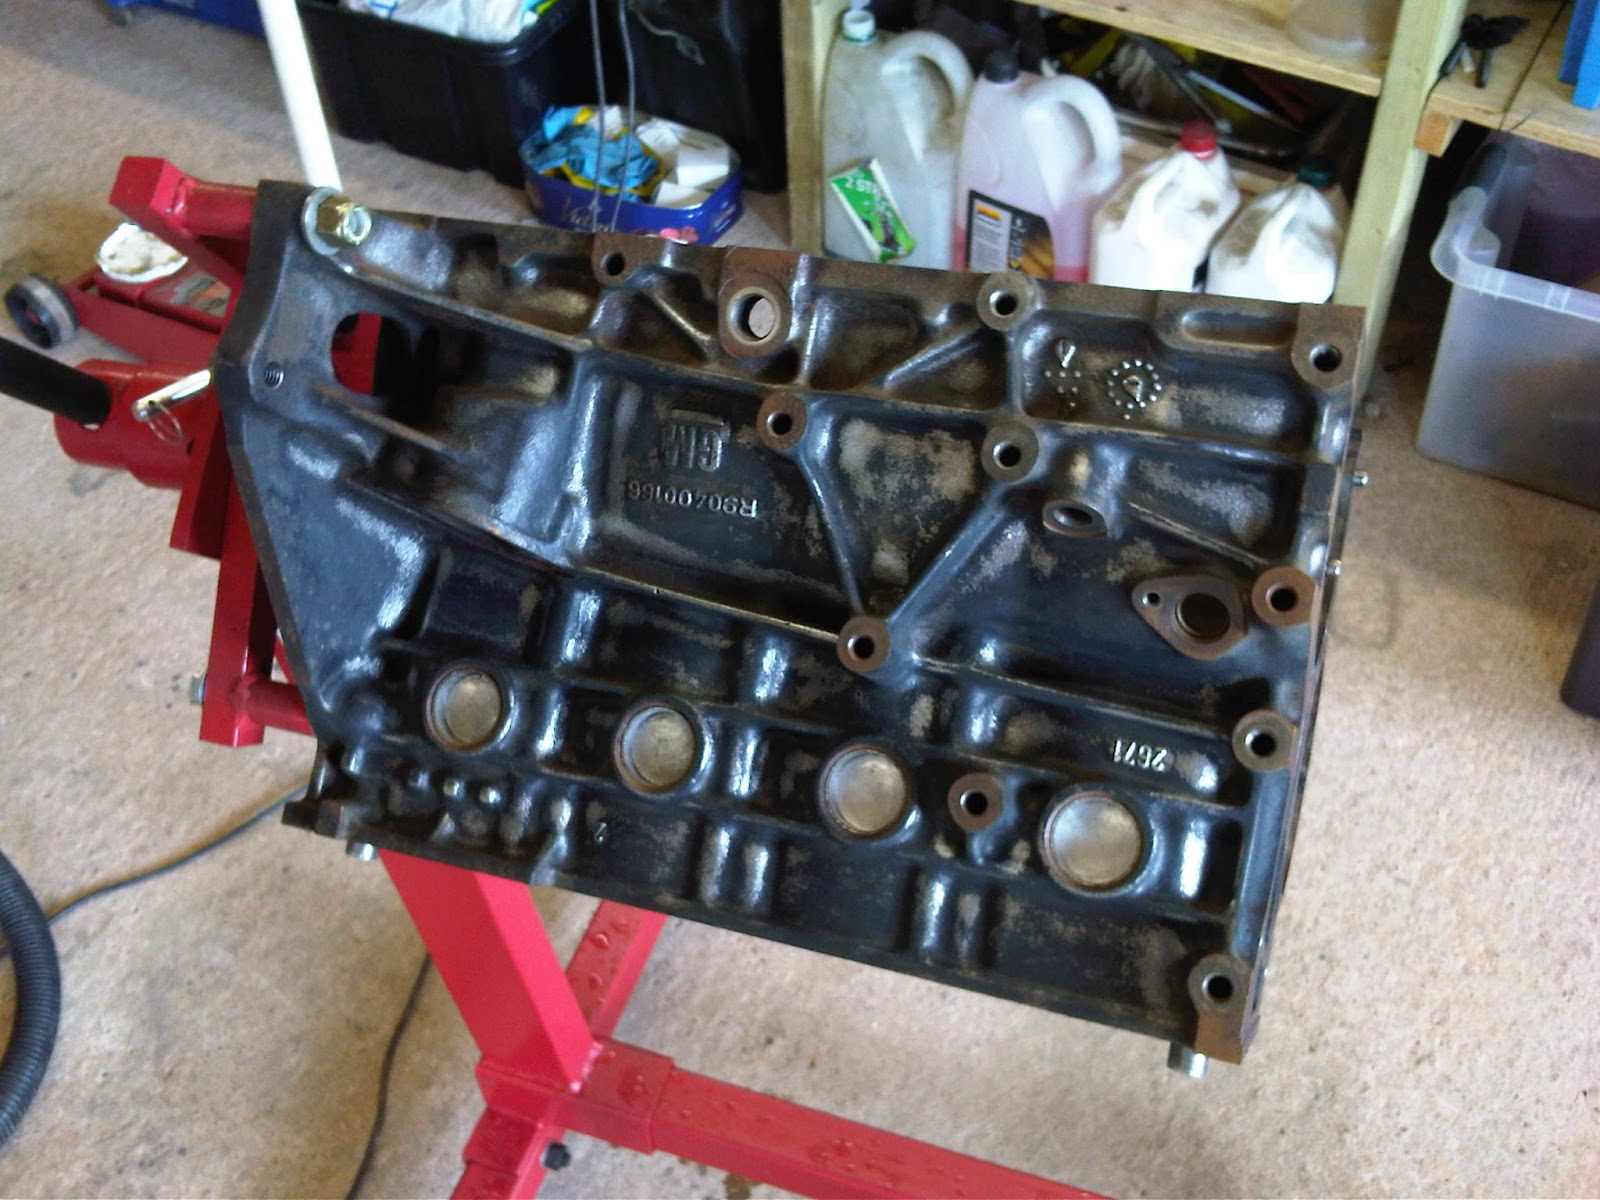
| A second Z20LET in the foreground with the balancer shaft assembly removed. Bit of a lemon this one, could be salvageable but will have to spend some time on it first. |
 |
| Water pump and timing sprocket removed |

 |
| Oil pump removed |


With the ancillaries off it was then time to get the crank out and see what the main bearings were saying,


Some tool improvisation was necessary to get the main bearing caps off, they were pretty well seated!

With the crank out the main bearings could be inspected, I was very happy to see that they were in mint condition, so were the main and rod journals on the crank

 |
| Very happy with the crank journals (those bands are meant to be there) |


 |
| The block had already been re-honed ready for new rings |
With the block stripped the very long road to decent paint started

 |
| The definitive degreasing weapon, you could probably kill someone with the dense steam-like jet of hardcore solvent that comes out of this |


I did more wire brushing that day then most other people have ever done it their life.... The kettle got used and a bag of Jaffa Cakes disappeared after this.
It was then finally time for paint, after the first coat it looked like this


The next day while the paint hardened I went after some more quick progress with the upper and lower sump parts


The block then had another going over


With the bits painted I had to just see where this is going, so just stacked them up, there are a few spots on the lower machined face of the block that need paint but ill mask this and sort that out next time


With a bit of a start made with the painting the first component for inspection/overhaul was the oil pump,

 |
| Note the impact driver wasn't going to be used anywhere near this! I was just using one of the bits |


The oil filter mounting boss was a PITA to get off, the flats are below the rim of the casting and the thread on the back is quite a large diameter, a tool had to be made or I was going to end up wrecking this expensive part,


 |
| Note the shallow tacks on the top were to reduce warping and keep the critical dimension after the proper bead on the inner face, a nut was then buzzed on |
After stripping down the pump then got the wire brush treatment (more delicately though!) and a bit of deburring inside


All the internal parts cleaned and checked and the casting got painted but forgot to get any pics of it. That's as far as things got that session, as I spent over an hour just inhibiting all the parts for storage as I probs wont be in the workshop for another couple of weeks : (
I need to get some main shells, both crank oil seals, big end bearings and then decide which out of my two sets of conrods im going to use, before I can start building the bottom end back up. I may try and shift the rods Ive got and get a full compliment of LEH (VXR) rods and pistons as they are coming up occasionally on Ebay for reasonable money, but Ill let my terrible impulse buying habit sort that out for me.
Taa
very very nice work
ReplyDelete