First post.
Primarily the write ups that will appear in this blog serve to post notes and images on the net that will hopefully provide assistance in some form or another to people searching for random things like these, or just for something to read for the technically interested. Secondly if I end up feeling compelled to update this page then I have at least created a source of inspiration to continue working on things for the desire of getting more life in my years... more so than can be gathered by drinking tea watching National Geographic and Discovery Turbo.
On to the subject.
A couple of years ago we bought an offroad buggy from my parents neighbour, who deals in plant and field toys. It originally started out as a Yamaha Tri-Z trike, but since then has been completely rebuilt with a tubular chassis, the front end of the commercially available quad conversion kit and a dual swing arm chain drive assembly.
 |
| Tri Z Buggy, far removed from the original trike |
With the engine now fitted in the back the kick start has been removed and replaced with an electric starter from a motorbike. To keep the overall bulk and weight down the starter system employs a decompressor valve to allow a smaller motor and battery to crank the engine over. The decompressor valve takes the form of a poppet valve that runs in a sleeve screwed into a threaded boss that is welded into the cylinder head. The valve is held closed by an external leaf spring that engages in a groove at the end of the valve shaft, and a single 'e' clip is used to retain the valve in the sleeve.
Last week my brother limped the buggy the back to the garage following a blast round the field complaining of a loud hissing noise from the engine and it having little power, it was immediately obvious that the valve was missing from the sleeve. It had lost its e clip and vibrated out of its notch in the leaf spring and fallen into the engine. Sweet.
 |
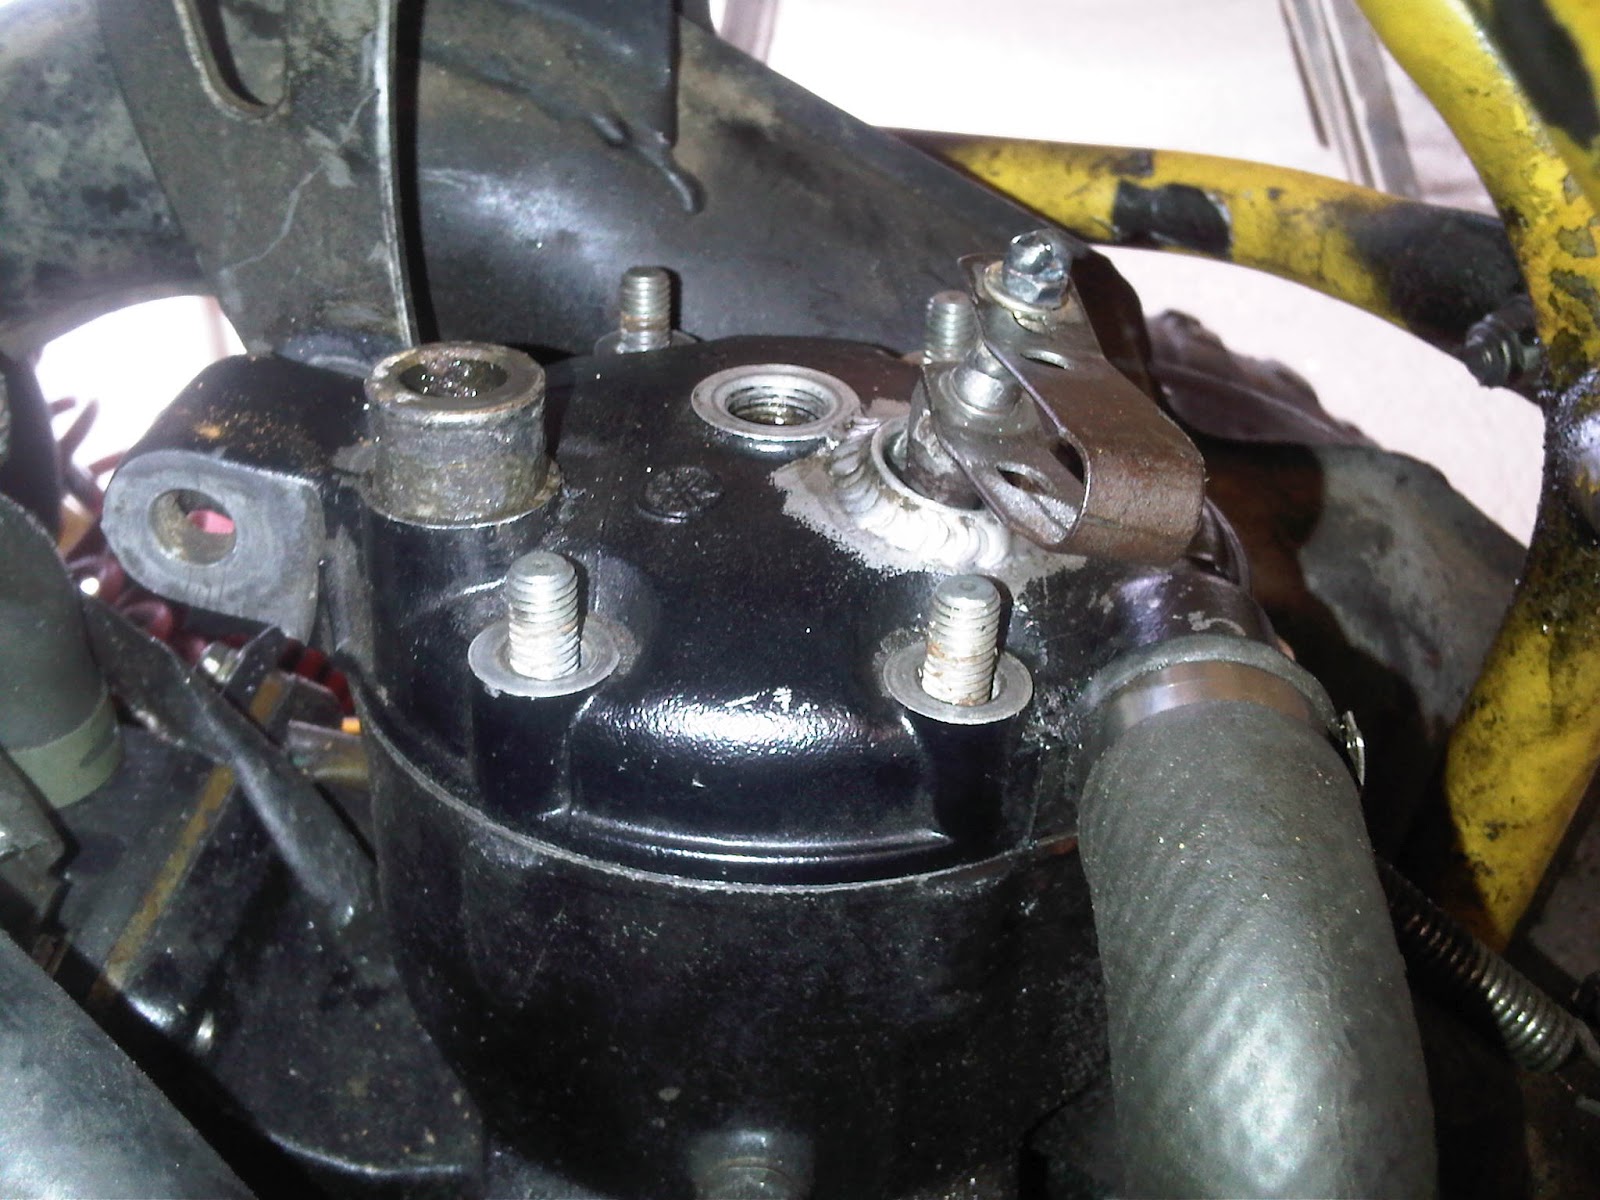
Decompressor boss 7 o'clock from centre spark plug hole, decompressor sleve already removed,
leaf spring visible lower left |
The head had to come off, fortunately on this port valved 2 stroke it is simply a case of the 6 head nuts.
 |
| Head off, some impact marks visible on the piston crown (sad face), but no valve? |
 |
| Valve found smashed into the head. Hoohray. |
 |
| Valve removed from head with the aid of a cold chisel and a sacrificial piece of ali to protect the surface |
 |
| Decompressor Assembly, sleeve on top, knackered valve below |
The valve was completely un-serviceable, and is not an off the shelf part. A cup of tea later and work started, im still in the process of saving up for a lathe, which would of made this a nice little job. Instead improvisation was required and the trusty mill and a drill chuck were called up.
 |
| Bit of mild steel rod cut to working length |
 |
| Rod chucked in mill |
 |
| Valve taking shape |
 |
| Gloves only worn to avoid leaving moisture on the mill, makes cleaning down and avoiding surface rust easier |
 |
| Valve cut down to near finished dimensions, next to lap the valve to the valve seat |
 |
| For this application this technique was deemed permissible! |
 |
| Valve seat nice and even |
 |
| Valve cut to final length |
 |
| New valve and seat assembly |
 |
| Decompressor valve assembly trial fit in the head to determine valve lift permissible without fouling the piston |
 |
| Underside of above image, all sharp edges and bulged deformities were filed down, for this engine this should be sufficient to avoid hot spots |
 |
| Without an accurate way to groove the shaft for a retaining clip I opted to mig on a couple of nuts to provide retaining for the lift and close actions, this valve should never fail in this fashion again. |
 |
| Completed decompressor valve assembly |
 |
| Valve assembly re-installed in the cylinder head |
 |
| Head going back on, head nuts were torqued down to 18ft/lbs in standard alternating fashion |
All disturbed parts were then reinstalled and the coolant refilled and bled etc.
The valve works great, starts well and seals perfectly,
Job's good.
More random items to follow,
Taa
Pete